Pages

Thursday, 20 November 2014

Countdown to Christmas #1 Advent Treat Box Stack

Here it is, the first signs of the Countdown to Christmas and my beautiful All Is Calm Treat Box Advent project which I sooooo loved making!  It was in my favourite All Is Calm speciality paper, but not only that, it was lots of little cute Tiny Treat Boxes, I love cute little things as you know. Shhh! It is a secret as to whether any of the boxes have any little surpirses left in them!


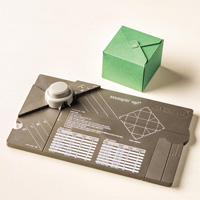
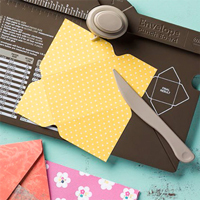
The Tiny Treat Boxes feature in the Autumn/Winter catalogue and come in a pack of 25 boxes perfect for advent. Someone at Stampin' Up! obviously thought of this project when designing the pack, right?  They are £6.25 for the pack and have been very popular, too popular for demand!  Not to worry, if you like the project and they are on back order, why not make your own tiny boxes with the Gift Box Punch Board (new in the Aumtun/Winter Catalogue)?  You can make a very small 1.75" x 1.75" box.  Or even make a very small box with the Envelope Punch Board if you already have it. (You will need to rotate how the boxes are stuck together and opened for these two methods).

  
One of our lovely team, Tracy Liscombe had put the project together and shared (we love sharing) and I was straight on to ordering my boxes and the number die (Perfect Print Numbers Die for the Big Shot) to have a play. 

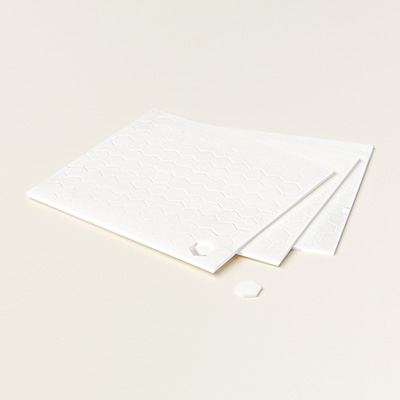
Now, each of my boxes has been decorated with a square of the DSP paper and then number added.  I set my number on dimensionals which was a bit fiddly, but along with the Dazzling Diamonds Glimmer paper it made them dazzle that little bit more. I used little strips of the foam pad from around the edges of Dimensionals. A very economical use for the leftovers too.


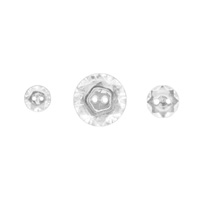
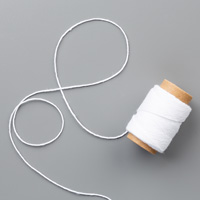
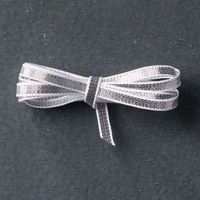
There are so many extras on here, too many to list! There is Baker's Twine, Rhinestones, Itty Bitty Accent punched Stars, ribbons, and greetings to mention just a few.  My little white and blue buttons I made using the Simply Pressed Clay and the Buttons and Blossoms Simply Pressed Clay Moulds. I then coloured then with a Soft Sky marker for the blue ones. The Nordic buttons from the Autumn/Winter catalogue have buttons just the right size too.

I found lots of the Holiday Homes stamp set was the right size to stamp onto the DSP paper to add some images. If you can spot him there is a little snowman. There are also Snowflakes and Santa of course who makes an appearance on Day 25.

I hope you love this project as much as I do and want to give it a try yourself.

Suzanne
x

You can use a multiple of stamps and products you have to decorate your project how you wish, but here is some of the list of products (well most of what) I used
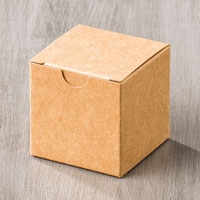

Alternative boxes can be made with one of the following tools and some Kraft Cardstock or coloured card:


To place an order, book a workshop in your home or come to a class, just drop me an email at craftyinkbuds@sky.com. Remember you can now order online at anytime too.

Tuesday, 18 November 2014

Seaside Sea Street Treat Cup Card

There's been lots of glitter, lots of sparkle and lots of Christmas projects on the go, but this weekend saw little one attend a birthday party for a school friend so of course a little card was needed.

After spending some time lost in the world of Pinterest I of course had narrowed my crafting time to produce said card down to an hour or so. Whilst browsing I came across some examples of the Sea Street stamp set and I realised I could use this. I just moved away from the usual nautical red and blue combinations, added a little pink here and there and this is what I came up with.

My little fishes are stamped in Melon Mambo and also some Strawberry slush.  To get the lighter tone I stamped off first. My other colour combination is Bermuda Bay.  I wanted the card to be a bit special so I added a Treat Cup and then put in some of the little 'friends' from the set, the little crab and the little lobster along with some of the starfish cut out.  

It's a must to have some sparkle right?  I add some beads I had from my stash and there are also some punched out Glimmer stars from the Dazzling Diamonds glitter paper. You can also just see in the photo that my Perfect Print Numbers dies have come in handy too to add the number '5' to the octopus. Here is a closer view.


I stuck my treat cup to the outside of the card to keep the image behind it and then I used my Circle Framelits to create a border.


The birthday celebration needed a little banner so I used the Banner Punch with the Designer Paper Stack in the In Colours 2013-2015 and the Thick Baker's Twine to create my banner. I glued the twine of the banner with glue dots and then stuck the banner pieces down with the two-way glue just overlapping the twine.


To finish it off with some birthday greetings, a little 'Happy Birthday' from the Something to Say stamp set and the 'Birthday Wishes' inside is from the Four You stamp set.

I hope the birthday girl liked it!

Suzanne
x

If you would like to try this card, these are the products I used:

Table built using Product Table Builder by The Crafty Owl - Independent Stampin' Up! Demonstrator.


To place an order, book a workshop in your home or come to a class, just drop me an email at craftyinkbuds@sky.com. Remember you can now order online at anytime too.

Monday, 3 November 2014

Folded Card Template

I am back! As promised, here is the template for the 40th Birthday Card I showed you in my last post. I made a template by expanding on the measurements of a card online. My card, as you know, was super-sized.


Here the template is laid on the Simply Scored Plate.


Or on the grid paper.
The card is shown laid at 90 degrees in both these photos.
If you click on the photos you should see bigger pictures to see the details. 

The measurements you will need are:


Here it is when it is standing up. All ready to be dressed up.

This is the list of products I used:

Table built using Product Table Builder by The Crafty Owl - Independent Stampin' Up! Demonstrator.


I have some fantastic Christmas projects still to show you and will be posting details and photos shortly.

Suzanne

x

To place an order, book a workshop in your home or come to a class, just drop me an email at craftyinkbuds@sky.com. Remember you can now order online at anytime too.