
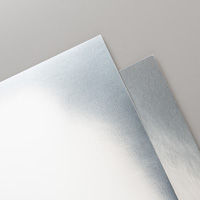
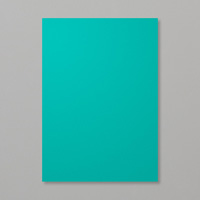
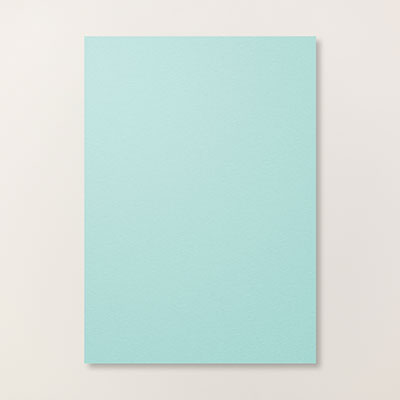
My layers were in Bermuda Bay and Pool Party and of course, there is the fantastic Silver Foil card there to make the star shine out. I wanted to make the '40' stand out and cut this using the Perfect Print Numbers Bigz Die in the Dazzling Diamonds Glimmer paper. As the card was for hubby who is not a sparkle and glitter kinda guy this was plenty of glitter for him! The die is getting a lot of use right now with Advent workshop planning so do come back and check on Christmas classes coming up to see more of it.
The 'Birthday Wishes' came from my trusty 'Four You' stamp set which has the four most used sayings for throughout the year. You can also see my background stamping in Pool Party which has the 'celebrate', ' cheers' and a few 'hugs & kisses' in there too to dress up the other panels. These are from the Good Greetings set which is FREE with hostess sales until the end of this month.

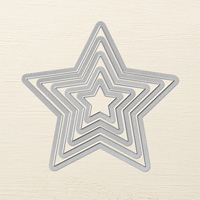
The main idea for the card was to feature the layered Star which shows just how effective the Star Framelits are when layered. I layered my stars and the numbering with dimensionals to get the raised layers. The numbers are a little fiddly, but I have worked out the small strips around the dimensionals are just about the right size to cut to make little pieces to raise the numbers.
I then used mostly punched stars using the small star punch from the Itty Bitty Accents punch pack to decorate around the card - this is a must for Christmas projects! It is just the right size for any offcuts from other punched or die cut pieces I have so I am getting very economical with my scraps. This is a blessing as my scraps box was getting so full I could not close it!
For the measurements for the card I will try and put together some instructions for next time.
Now, once I had a BIG card, I needed a BIG envelope. Not to panic, envelope board to the rescue. I took a 30.5cmx30.5cm (12"x12") sheet and cut it to 30.2cmx30.2cm. I then just lined up the edge of the paper to the furthest point on the board (the furthest edge after the numbering stops). I followed all the instructions as you normally would and the finished envelope measured 22.5cmx17.8cm. A generous fit to ensure my star was still intact on the day!
Everything was super-sized this birthday including the huge carrot cake I managed to bake and decorate in-between card making. Baked to order for one very happy birthday boy. Job done.

All this birthday activity and there is still Christmas planning to do. Stampin' Up! have now given us more Christmas products to choose from.

You can take a look at the supplement which is now available on my catalogue page Click here.
More stamps to co-ordinate with the Star Framelits and more Stars before your eyes with the Many Merry Stars Simply Created Kit.
Suzanne
x
 |  |  |  |  |
 |  |  |  |  |
 |  |  |  |
Table built using Product Table Builder by The Crafty Owl - Independent Stampin' Up! Demonstrator.
To place an order, book a workshop in your home or come to a class, just drop me an email at craftyinkbuds@sky.com. Remember you can now order online at anytime too.
No comments:
Post a Comment