Pages

Showing posts with label Simply Borders. Show all posts

Saturday, 28 September 2013

Sharing What You Love

This is the sentiment from Stampin' Up! themselves, but this week certainly felt true to this for me.  Firstly I wanted to thank those of you that came to my recent Open House event.  Without the support of customers I would not be able to enjoy SU products and so I made some 'Thank You' cards to show my appreciation.  I left a note inside attached with a post-it note so that the cards could be re-used by the recipient.

The cards were made with the Mosaic Madness stamp set and in the In Colours 2013-2015 selection of colours.  The 'Thank You' is from the Four You stamp set.  I really like the sizing of this and the style of the writing in this set, I wish my handwriting was as artistic as this!  I had a few cards to make, but a little stamping and punching whilst I watched some TV and I had a efficient little production going.  The Mosaic emboss folder gives a great background grid and I then just layered my mosaic tiles in a pattern as I wanted them with a mix of the colours.

Another card for you, this time with Christmas in mind.  Yep, it really is time to start planning those Christmas festivities.  Every year, if you are like me, you say you will start it early so as not to have the big rush on, well now is THAT time to start.

This card was a demo card to show a number of methods and techniques so has quite a bit going on.  There are of course the Mosaic Madness layered in there.  They are mounted on foam pads to raise them off the Label Love stamped images behind them.  I wanted to show that although the Label Love has sayings on the stamps, when layered in this manner they can be used for other occasions too.  The labels are punched with the co-ordinating Artisan Label punch and I then punched the coloured card and cut it in half to create the borders round the labels. 
To create the wavy emboss lines I used the Simply Borders plate for the Simply Scored board.  What an effective background and I think it ties in well with the label styling too.

The flowers were meant to be a little poinsettia-looking by using the Boho Blossoms punch and using just the smallest and medium sized flower shapes (2 of the medium size and then a small one on top) with a pearl to finish. The little 'Very Merry' label to top the middle of the card is from the Very Merry Tags stamp set and punched with the small scallop circle punch (7/8" 2.2cm).

Two cards that hopefully show you how to use your existing, or possible purchases, from the main catalogue as well as the Autumn/Winter seasonal sets to make cards for all occasions, including the festive season.

To place an order, book a workshop in your home or come to a class, just drop me an email at craftyinkbuds@sky.com. Remember you can now order online at anytime here and check out the clearance rack whilst stocks last.

Friday, 28 June 2013

Somethings Have To Be Believed To Be Seen - Last Retiring and Sneek Peek

I think possibly today's flurry of crafting is going to be some of the last of the retiring products you will see from me.  One of the first stamp sets I bought from Stampin' Up! was the Just Believe set.  It has simple 'Thank You', 'Friends' and 'Just for You' sentiments, but also has the great saying 'Somethings have to be believed to be seen'.  I have been inspired for the cards here by so many designs I have seen with the  larger stamp and how this can be framed on the front of the cards.

This first card is a combination of the In Colours 2013-2014 Raspberry Ripple and Primrose Petals. There is also some Regal Rose for the Boho Blossoms flowers which is a retiring colour with the new colour refresh.  The green on the card is Always Artichoke which has a darker shade which I think works really well in contrast with the other colours.

I just love the frame shape for this card.  This was cut using the Framelits Label Collection for the Big Shot.  I just imagined this card layout in my head and built it up from cutting and framing the stamped image.  The Boho Blossoms and Embosslits Beautiful Wings on the card are just the right size to go with the background image to dress it. 

The stamp set also contains two stamps which can be used to create instant label.  There is the decorative label I have added to this card and another larger label which can be used.  These are great for layering on cards or tags and are sized for the sentiments to fit with ease. 

You cannot see it too well on the photo, but there are embossing designs on the middle section and also on the edges of the white insert piece.  I used a product I have not mentioned too much up until now, the Simply Borders plate for the Simply Scored Tool, which is in the Spring/Summer mini.  This is fabulous for a subtle embossed design to your cards and co-ordinates with other products such as the Framelits dies. 

Tip:  The Simply Borders plate comes with a top template for easy alignment with your project when embossing.  To keep everything in place when embossing use some low tack masking tape to keep placement and to stop any slips.

The second card in neutral tones of Crumb Cake and Soft Suede is another use of the framelits die.  This card is created by first stamping in Crumb Cake and then using the Stamp-a-ma-jig to line up and create a shadow image, stamping with Versamark and then embossing with white.  The embossing was then sponged over with Crumb Cake.


This first photo is the initial version with the Flower Trim from the Spring/Summer catalogue and the Crumb Cake Seam Binding ribbon.  I then decided to step-up the card a little and added a few pearls.  I think the pearls lift it and make for a much better looking card.   Just a simple change can make such a difference!

The Flower Trim, as it is in the Spring/Summer catalogue will no longer be available after June 30th.  The other retiring products on the cards are, the Just Believe stamps and also the First Edition designer papers.  The papers are such a staple for any craft room; they work so well for a background, for vintage looks, or for masculine cards.

Lastly, all these retiring products posts have meant I have had to keep my twitching hands off my new catalogue products, but as we are now in the last few days of the current catalogues I thought it only right to give you a little tease of what is coming.  We have been talking about all the colour changes and retiring colours, well here are the yummy new In Colours 2013-2014 for the new catalogue (well 4 of them anyway!). 

 
Still with a retiring products, this card has monochrome Just Believe flower circles and I have then decorated them with the Floral Fusion Sizzlits in the new colours.  The photo does not show it, but I have also used the 'Friends' saying from the stamps down the right hand side strip.  The white card is also embossed with the Simply Borders plate as once I had played with it once I got carried away and wanted to play some more - as often the way with all the products!

To place your order, order your new catalogue, book a party or come to a workshop email me at craftyinkbuds@sky.com

Friday, 8 March 2013

Mother's Day Stampin' with Love


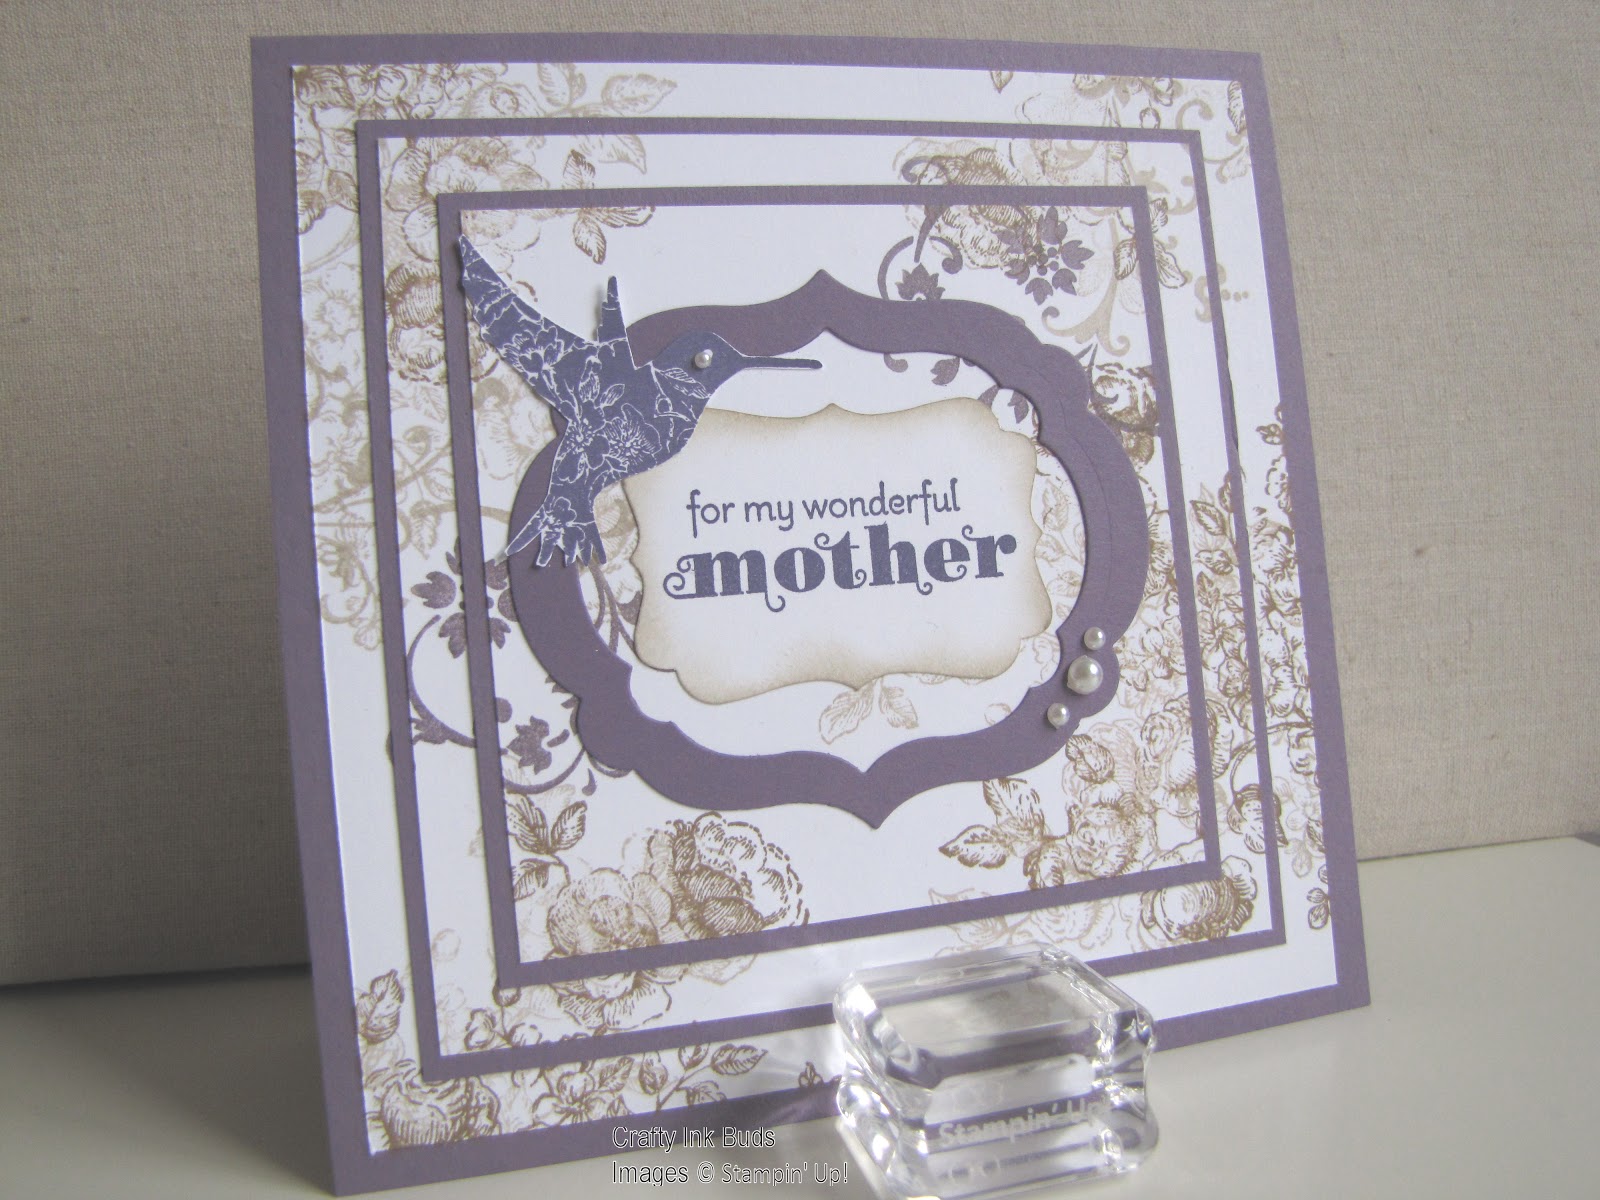
Well it is a little early to post these as it is before Mother's Day, but I have been having so much fun with my Elements of Style stamp set I just wanted to show you all what I had been making.

The triple-layer stamping is one I had seen around and been wanting to try ever since I saw an example with this same stamp set. It looks beautiful and so effective with this set.I love creating shadow of the bigger stamp on the background by stamping with the Crumb Cake then again with soft suede.


 Another Mother's Day card with the same set, but this time pretty in pink. I stamped and coloured with blender pens and then cut out the flowers to overlay a framelit. I used some sponge daubing on this card to give it a vintage feel.

The Embosslit butterflies feature here with one of the Vintage Faceted Buttons. These buttons look just fab with a pearl in the middle as I used here. I am already well on my way through my second pot of buttons.

The background for this card is with the larger stamp as a watermark effect. You cannot see the back of the card, but I stamped all over the back too and a little on the inside corners which finished the the card off.
 
As the rain seems to be back again this is a reminder of the few days of sunshine we have had this week.  It almost felt like summer - well a British summer anyway! 

My last card for today's post, a challenge to myself to create something with less stamping!  My creative inspiration, the Floral District designer papers and some of the standard designer papers in Daffodil Delight.

This card is all punching, cutting and scoring, except for the sentiment of course (from the 'Deligthful Dozen' set).  The background border has been created with the Simply Scored scorepad and the new Scored Borders plate found in the spring catalogue (p26). This creates beautiful embossed borders matching your framelits shapes or can just be used alone for embossing.  There are full size continuous designs for using on scrapbook pages or just on the edge of a card design as I have. The plate has it's own template to help you line up and keep on track too - no slip-ups!    

If you'd like to see more of these products why not book a party or come to a workshops? Or if you'd like to order them to use yourself, email me at craftyinkbuds@sky.com.