Pages

Showing posts with label Simply Scored. Show all posts

Sunday, 8 February 2015

It's a Big Celebration!

A big 'Hello' from me. After a little break for some personal time I am back in the mood for some crafting. I can say that all that crafting at Christmas and the last flurry of card making left me all crafted-out for a little longer than I was expecting.

Of course, I did not completely down tools (mostly for fear my hubby might sell off all my crafting goodies if I did that!), I just took some time out from the blog and showing my creations for a while and crafted for pleasure when I had a birthday card or gift to craft.

So today I am sharing with you a very special card for a very special birthday - and it's a biggy! This is the card and gifting for my Father for his 70th birthday. I have used nearly entirely all retired products for this one  and then added some new elements. I had been saving these lovely designer papers for a special occasion and this one certainly was! The papers, if you were wondering, were called World Spectacular and I just thought the wording on them was perfectly fitting.


As we were wishing from both of us and our little boy I used a large folded card template to play on the words so that folded the card said 'Grandad' and then when opened up the wording expanded to 'Grandad' and 'Dad', saving me making a second card! I had some chipboard lettering leftover from previous stock so sponged this with daubers and crumb cake for the large lettering. The great thing about the designer papers was that with some selection the rest of the wording I wanted on the card was already on there!  


I added some additional stamping with the stamp sets of Four Your Party and Four You on the centre folded section. The numbers and '&' were from the Perfect Printed Numbers Die. The 'TH' comes from the Project Life stamp set, Day to Day which really does come in handy for numbering and dating projects. The background card is Early Expresso and for the mat layer and accents I added Island Indigo which is in the DSP colours.

I made a rosette using two strips of DSP glued together and scoring at intervals using the Simply Scored Tool. I punched a circle of card ready to hold the rosette and then folded the rosette strip alternatively each way to create the concertina folding needed. Once folded, I stuck the ends together with Sticky Strip for a firm hold.  I then put some hot glue in the centre of the card circle and formed the rosette sitting it on top of the circle, holding it in place until it was secured.  My rosette ribbons were then easily created using the Banner framelits and some more of the DSP.

The back of the card, did not get forgotten.  As it was so large I cut the card from two pieces and joined it so to cover the join I used another great sheet of the DSP with the heading 'Latest and Greatest' which I then used to write our personal message. On the side panel though I had a great idea, creating a pocket the perfect size for the gift card we were gifting for the occasion.


A extra special card of this size needed an envelope so I quickly made a box envelope for it  with a decorated belly band  with a Chalk Talk die. Also as my son had a little special gift too I made a quick scallop tag top gift bag to co-ordinate.


After all that design and crafting, we had a lovely family celebration meal at the Swan Hotel in Alresford.  For those of you visiting that are not local, Alresford is a beautiful Georgian town near to where my father lives and the Swan Hotel there did a fantastic job with the food and service too.  It really was great to see all the family together and I know it was a special day to remember for everyone there.

Now I am back, I hope you are all enjoying the new Spring Summer Catalogue.  Don't forget it is that Special Sale-a-Bration time for extra Hostess rewards and Free Product for all orders (Free product earnt for every £45 spend).

Suzanne
x


To place an order, book a workshop in your home or come to a class, just drop me an email at craftyinkbuds@sky.com. Remember you can now order online at anytime too.

Thursday, 13 February 2014

Valentine Sweet Heart Suprises

I was invited to a fabulous crafting Fun Day with my fellow Stampin' Up team members last weekend and was set the task of making something to 'show-and-tell'.  Now, what a panic that set, making something fabulous enough to share with all those experienced crafters!

After a little calming down and reassurance from my wonderful upline Amanda Fowler I decided I would make the Secret Box which I had been eyeing up for some time.  Hopefully it would wow the crowd, but also I could put one of my favourite things in it, Chocolate, for a Valentine's gift!

It is fantastic.  A Box that opens up to reveal three trays to fill with goodies.  The main sections are made from A4 card so no need for 12"x12" cardstock for this one either.
Chocolate, mini soaps, mini chocolate eggs for Easter, the ideas are endless! 

To make the box I was following a tutorial on Split Coast Stampers from Heather Perraux.  The measurements and template are all there on the tutorial along with step-by-step videos on how to put it together.  

I followed the template guide with my Simply Scored Tool and used the additional Diagonal Plate to create the diagonal lines to easily follow where to cut for the main two outer pieces for the box.  For a project like this where you have a template and measurements, the Simply Scored tool just makes it so much easier and quicker to complete.

Tip:  Make sure if you are flipping you card round to make the diagonals on your card that they are going the correct way!  I found the diagram easist to follow on the tutorial for the scoring and folding and the video easiest for the sticking and finishing.

I used the My Digital Studio Love Letters designer papers layered on Smoky Slate and Very Vanilla cardstock for my decorative background.  The sentiments on the Circles (using the Circles Framelits Collection) were from the 'Perfect Pennants' stamp set available in the Spring/Summer Catalogue.

I love the 'You & Me' for a Valentines theme and also I have inked and cut the 'Life Doesn't Have To Be Perfect To Be Wonderful' to split it across the 3 tray fronts inside.  This stamp set is available as a Digital Download Stamp Brush Set so if you love the project is not too late to recreate it for yourself. Just download your stamp set and background papers and get folding and sticking - go on, give it a go!

For more details and to purchase either the tools or products I used you can follow the links to them here

Simply Scored 122334

Simply Scored Diagonal Plate 125586

Circles Collection Framelits Dies 130911

Perfect Pennants Brush Set - Digital Download 137042

Love Letter Designer Series Paper - Digital Download 124012

Of course, a gift, needs a card to go with it. Well here is a Valentine Pop-up suprise card to match. The dimensions mean that this card folds flat to allow it to fit into a C6 envelope if you need to post or send your valentine's messages.

I have just used the Large Heart Punch and Small Heart Punch for decoration and the colours are Cherry Cobbler, Real Red, Shimmery White and Glimmer Paper.  The background paper too is First Edition Speciality Paper which is still available as a digital download.  The sentiment on the Decorative Label Punch is from the Delightful Dozen stamp set.  There are lots of templates and tutuorials for these pop up cards online and they are so so easy.  Once you have made one, you will want to make more trust me.  A hint that there are some more to come......

To place an order, book a workshop in your home or come to a class, just drop me an email at craftyinkbuds@sky.com. Remember you can now order online at anytime too.

Saturday, 28 September 2013

Sharing What You Love

This is the sentiment from Stampin' Up! themselves, but this week certainly felt true to this for me.  Firstly I wanted to thank those of you that came to my recent Open House event.  Without the support of customers I would not be able to enjoy SU products and so I made some 'Thank You' cards to show my appreciation.  I left a note inside attached with a post-it note so that the cards could be re-used by the recipient.

The cards were made with the Mosaic Madness stamp set and in the In Colours 2013-2015 selection of colours.  The 'Thank You' is from the Four You stamp set.  I really like the sizing of this and the style of the writing in this set, I wish my handwriting was as artistic as this!  I had a few cards to make, but a little stamping and punching whilst I watched some TV and I had a efficient little production going.  The Mosaic emboss folder gives a great background grid and I then just layered my mosaic tiles in a pattern as I wanted them with a mix of the colours.

Another card for you, this time with Christmas in mind.  Yep, it really is time to start planning those Christmas festivities.  Every year, if you are like me, you say you will start it early so as not to have the big rush on, well now is THAT time to start.

This card was a demo card to show a number of methods and techniques so has quite a bit going on.  There are of course the Mosaic Madness layered in there.  They are mounted on foam pads to raise them off the Label Love stamped images behind them.  I wanted to show that although the Label Love has sayings on the stamps, when layered in this manner they can be used for other occasions too.  The labels are punched with the co-ordinating Artisan Label punch and I then punched the coloured card and cut it in half to create the borders round the labels. 
To create the wavy emboss lines I used the Simply Borders plate for the Simply Scored board.  What an effective background and I think it ties in well with the label styling too.

The flowers were meant to be a little poinsettia-looking by using the Boho Blossoms punch and using just the smallest and medium sized flower shapes (2 of the medium size and then a small one on top) with a pearl to finish. The little 'Very Merry' label to top the middle of the card is from the Very Merry Tags stamp set and punched with the small scallop circle punch (7/8" 2.2cm).

Two cards that hopefully show you how to use your existing, or possible purchases, from the main catalogue as well as the Autumn/Winter seasonal sets to make cards for all occasions, including the festive season.

To place an order, book a workshop in your home or come to a class, just drop me an email at craftyinkbuds@sky.com. Remember you can now order online at anytime here and check out the clearance rack whilst stocks last.

Friday, 28 June 2013

Somethings Have To Be Believed To Be Seen - Last Retiring and Sneek Peek

I think possibly today's flurry of crafting is going to be some of the last of the retiring products you will see from me.  One of the first stamp sets I bought from Stampin' Up! was the Just Believe set.  It has simple 'Thank You', 'Friends' and 'Just for You' sentiments, but also has the great saying 'Somethings have to be believed to be seen'.  I have been inspired for the cards here by so many designs I have seen with the  larger stamp and how this can be framed on the front of the cards.

This first card is a combination of the In Colours 2013-2014 Raspberry Ripple and Primrose Petals. There is also some Regal Rose for the Boho Blossoms flowers which is a retiring colour with the new colour refresh.  The green on the card is Always Artichoke which has a darker shade which I think works really well in contrast with the other colours.

I just love the frame shape for this card.  This was cut using the Framelits Label Collection for the Big Shot.  I just imagined this card layout in my head and built it up from cutting and framing the stamped image.  The Boho Blossoms and Embosslits Beautiful Wings on the card are just the right size to go with the background image to dress it. 

The stamp set also contains two stamps which can be used to create instant label.  There is the decorative label I have added to this card and another larger label which can be used.  These are great for layering on cards or tags and are sized for the sentiments to fit with ease. 

You cannot see it too well on the photo, but there are embossing designs on the middle section and also on the edges of the white insert piece.  I used a product I have not mentioned too much up until now, the Simply Borders plate for the Simply Scored Tool, which is in the Spring/Summer mini.  This is fabulous for a subtle embossed design to your cards and co-ordinates with other products such as the Framelits dies. 

Tip:  The Simply Borders plate comes with a top template for easy alignment with your project when embossing.  To keep everything in place when embossing use some low tack masking tape to keep placement and to stop any slips.

The second card in neutral tones of Crumb Cake and Soft Suede is another use of the framelits die.  This card is created by first stamping in Crumb Cake and then using the Stamp-a-ma-jig to line up and create a shadow image, stamping with Versamark and then embossing with white.  The embossing was then sponged over with Crumb Cake.


This first photo is the initial version with the Flower Trim from the Spring/Summer catalogue and the Crumb Cake Seam Binding ribbon.  I then decided to step-up the card a little and added a few pearls.  I think the pearls lift it and make for a much better looking card.   Just a simple change can make such a difference!

The Flower Trim, as it is in the Spring/Summer catalogue will no longer be available after June 30th.  The other retiring products on the cards are, the Just Believe stamps and also the First Edition designer papers.  The papers are such a staple for any craft room; they work so well for a background, for vintage looks, or for masculine cards.

Lastly, all these retiring products posts have meant I have had to keep my twitching hands off my new catalogue products, but as we are now in the last few days of the current catalogues I thought it only right to give you a little tease of what is coming.  We have been talking about all the colour changes and retiring colours, well here are the yummy new In Colours 2013-2014 for the new catalogue (well 4 of them anyway!). 

 
Still with a retiring products, this card has monochrome Just Believe flower circles and I have then decorated them with the Floral Fusion Sizzlits in the new colours.  The photo does not show it, but I have also used the 'Friends' saying from the stamps down the right hand side strip.  The white card is also embossed with the Simply Borders plate as once I had played with it once I got carried away and wanted to play some more - as often the way with all the products!

To place your order, order your new catalogue, book a party or come to a workshop email me at craftyinkbuds@sky.com

Friday, 8 March 2013

Mother's Day Stampin' with Love


Well it is a little early to post these as it is before Mother's Day, but I have been having so much fun with my Elements of Style stamp set I just wanted to show you all what I had been making.

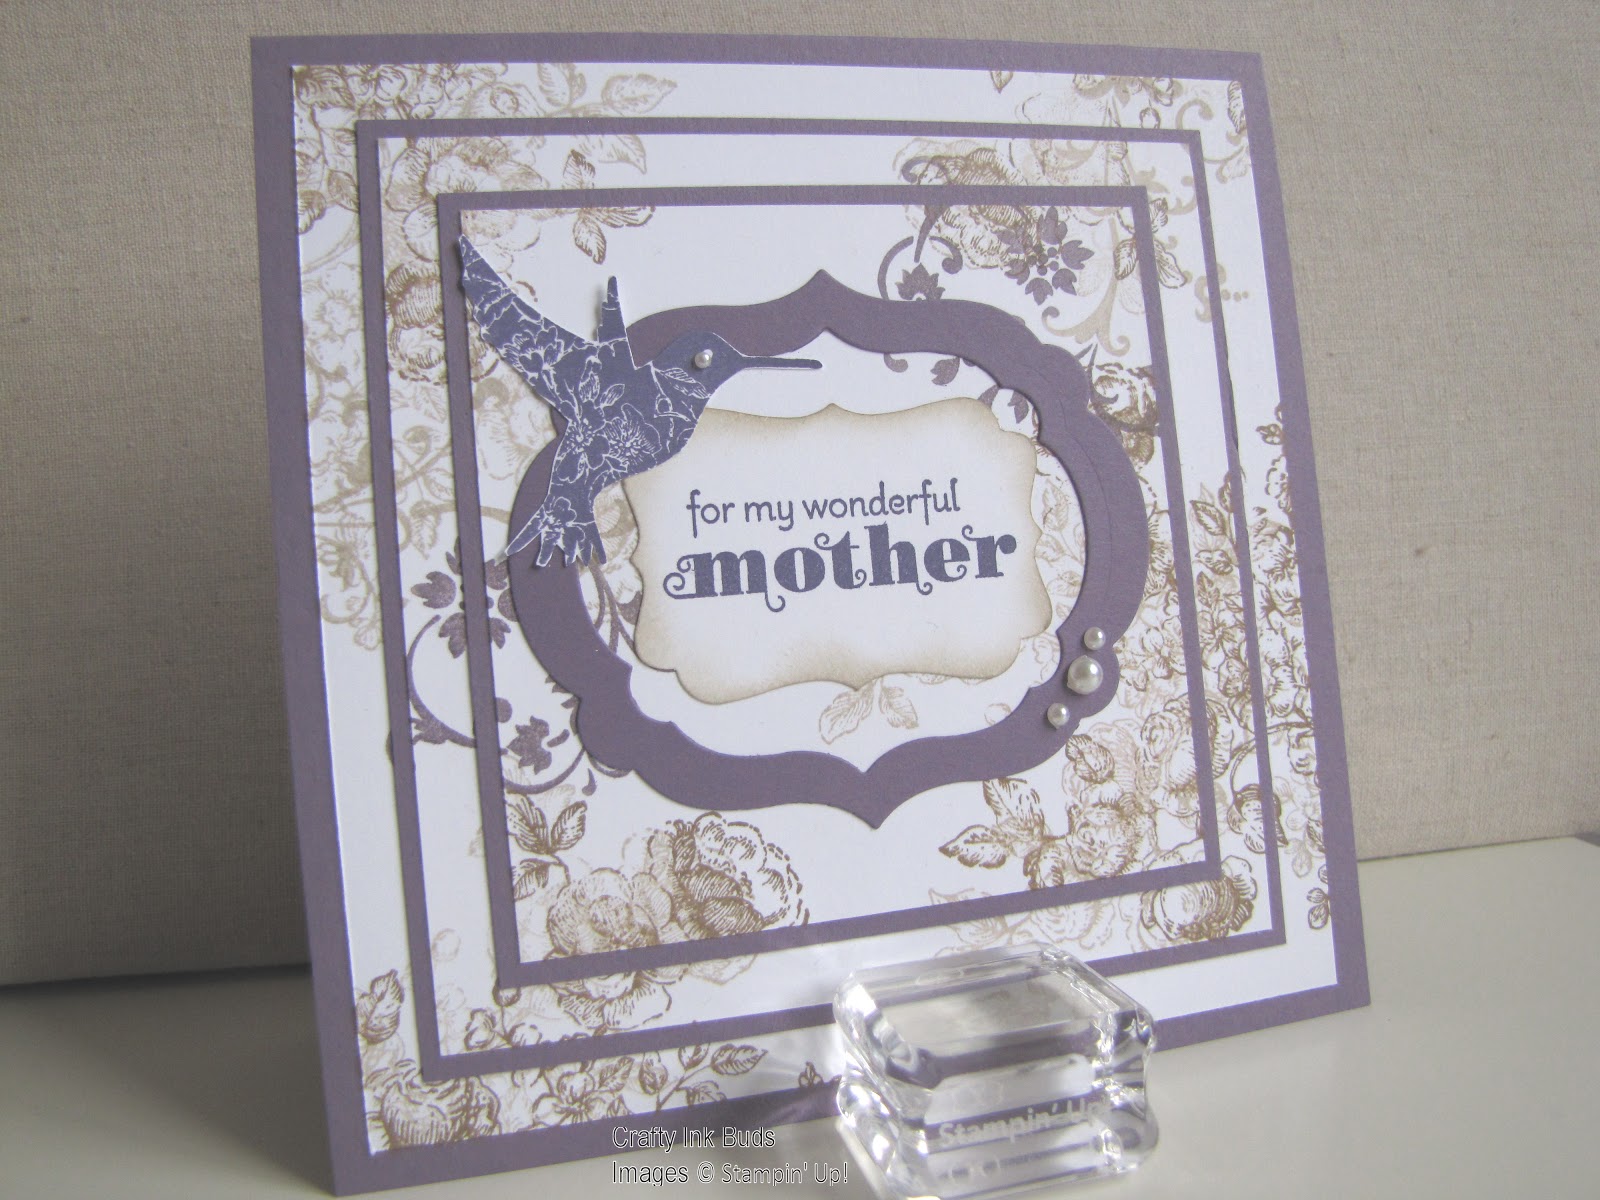
The triple-layer stamping is one I had seen around and been wanting to try ever since I saw an example with this same stamp set. It looks beautiful and so effective with this set.I love creating shadow of the bigger stamp on the background by stamping with the Crumb Cake then again with soft suede.


 Another Mother's Day card with the same set, but this time pretty in pink. I stamped and coloured with blender pens and then cut out the flowers to overlay a framelit. I used some sponge daubing on this card to give it a vintage feel.

The Embosslit butterflies feature here with one of the Vintage Faceted Buttons. These buttons look just fab with a pearl in the middle as I used here. I am already well on my way through my second pot of buttons.

The background for this card is with the larger stamp as a watermark effect. You cannot see the back of the card, but I stamped all over the back too and a little on the inside corners which finished the the card off.
 
As the rain seems to be back again this is a reminder of the few days of sunshine we have had this week.  It almost felt like summer - well a British summer anyway! 

My last card for today's post, a challenge to myself to create something with less stamping!  My creative inspiration, the Floral District designer papers and some of the standard designer papers in Daffodil Delight.

This card is all punching, cutting and scoring, except for the sentiment of course (from the 'Deligthful Dozen' set).  The background border has been created with the Simply Scored scorepad and the new Scored Borders plate found in the spring catalogue (p26). This creates beautiful embossed borders matching your framelits shapes or can just be used alone for embossing.  There are full size continuous designs for using on scrapbook pages or just on the edge of a card design as I have. The plate has it's own template to help you line up and keep on track too - no slip-ups!    

If you'd like to see more of these products why not book a party or come to a workshops? Or if you'd like to order them to use yourself, email me at craftyinkbuds@sky.com.

Wednesday, 5 September 2012

Paper Dash!

Today's post is all about the paper.  I have lots of cards which I have made and just have not had time to show, but as there is the countdown to the new catalogue and the retired list contains some of my favourite papers which will be going I just had to post pictures of those paper creations!  You'll have to excuse my photography though - I have yet to find the perfect spot to perch my creations for the best light.

This cheerful collection is from a hostess party where I demonstrated the lovely little curved top bag and, of course, the Simply Scored Tool.  The papers are the 'Cheerful Treat' from the Hostess products.                                      I love the colours on these papers and the also the great selection of patterns - they work so well too with my first attempts at Pinwheels with the Simply Scored tool.  Just add some Rhinestone brads (which are not photographed so well) to give them that extra special finish.

As hostess products this is definitely your last chance to get these papers - there's still time to book a party in September though to earn your hostess pounds to purchase them!

My lovely summer-feel card with paper daisies was inspired by the sunshine which is staying with us!  I have highlighted the daisies with a Daffodil Delight marker pen and then the centres are made from the Blossoms punch and a small circle which I have folded in on the edges.  I have used the Little Leaves die for the Big Shot, but you can also use the branch from the Bird punch.

I just love this colour combination of Daffodil Delight and Certainly Celery.  The paper at the top is from the Domestic Goddess papers and the bottom paper is from the standard pattern DSP pack (Brights collection).

Last, just a little something I made from the Nursery Nest papers.  It is a perfect small gift idea - just a post-it note pad and some Stampin' Up! product and it is all ready to say a little 'thanks' to someone special.


Make sure you check out the retired list for these papers and other items you need to buy now before they are no longer available.  Some items have already gone out of stock, so don't delay if you have some favourites on your wish lists.
 
Remember, you can place an order or get a catalogue by emailing me at Craftyinkbuds@sky.com